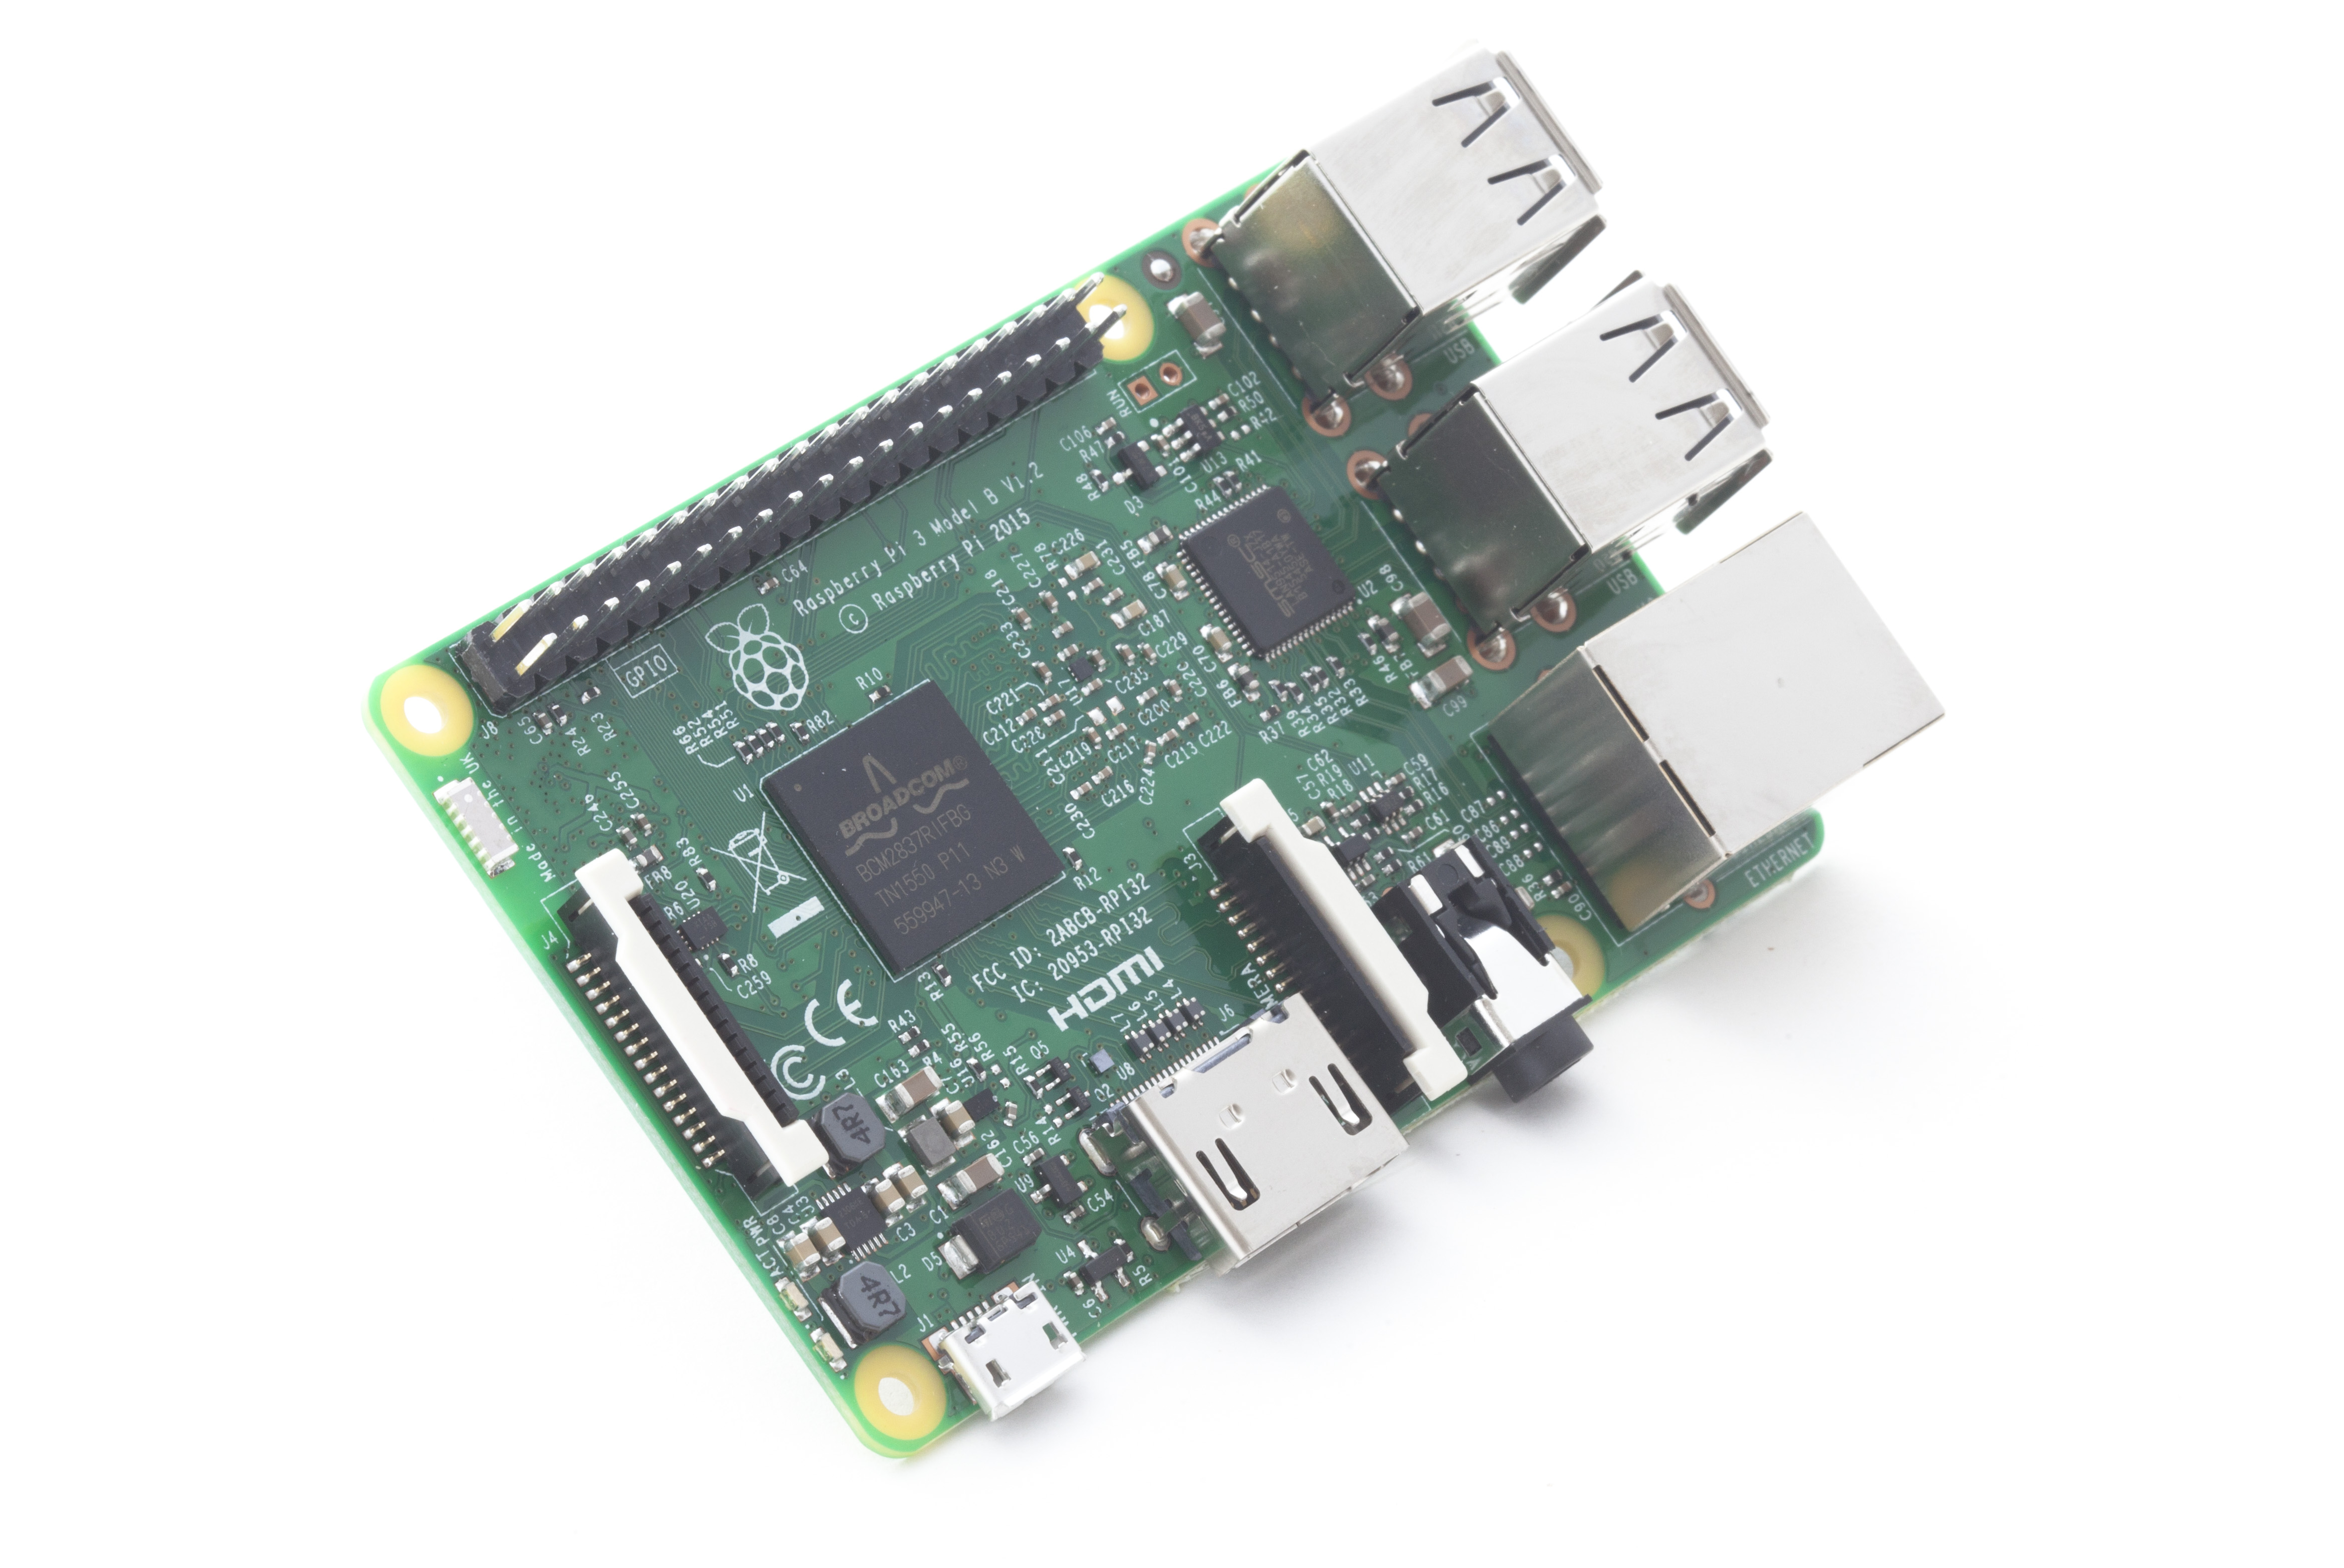
Here’s a quick how-to on assigning a static IP address to your Raspberry Pi 3.You’ve got your Raspberry Pi 3 (this is for Pi 3 only as far as I am concerned) connected to your local network via WiFi using IPv4.
I did this by connecting a mouse, keyboard, and monitor, then using the Desktop to add the WiFi network. You can do this by command line, but since I don’t use Linux every single day I often forget the commands, so using a mouse is fastest.
The benefit of doing it this way is that it automatically creates a WiFi related file you will need later on. You will need to create that file manually, if not.
Important: my router allows for DHCP addresses from 192.168.1.2 > 192.168.1.199. This means anything from 200 > 253 can be used as static IPs. Your network might be different. I found this out by logging into my router (at 192.168.1.1) and looked into the information. I’m not going to cover how to do that here.
First step in assign a static IP to your rPi 2 is to get your local network information in Windows by doing Windows+R > cmd > ipconfig
C:\Users\Data>ipconfig

Windows IP Configuration


Ethernet adapter vEthernet (vmswitch):

Connection-specific DNS Suffix . :
 Link-local IPv6 Address . . . . . : fe80::7023:xxxxxxxxxxxxxxx
 IPv4 Address. . . . . . . . . . . : 192.168.1.210
 Subnet Mask . . . . . . . . . . . : 255.255.255.0
 Default Gateway . . . . . . . . . : 192.168.1.1
Note that my laptop is hardwired. If you are on WiFi then you will look at Wireless LAN adapter. The most important part is really the numbers, so where you find it doesn’t matter.
Take note of the IPv4, Subnet, and Default Gateway.
More than likely, you might need to set up DNS resolving, which is usually your router/gateway. When I say usually I mean usually, so yours might be different. Anyway, run nslookup:
C:\Users\Data>nslookup
Default Server: Wireless_Broadband_Router.home
Address: 192.168.1.1
See the address? This you will need.
One note: we require a Network and Broadcast IP address which doesn’t appear in the above output. It’s ok. We will just add it later.
So, you’re connected to your Pi via the desktop or ssh and are ready to go.
Open a cmd prompt on the desktop since the rest of this is command line.
sudo ifconfig
Look for eth0, lo, and wlan0. See them? Continue. If not, I don’t know what’s wrong.
$ sudo nano /etc/network/interfaces
You will see something like this. I have commented out what was original and what is new and added comments. Copy/Paste what is relevant. For WiFi only, just use the wlan0 section.
# interfaces(5) file used by ifup(8) and ifdown(8)

# Please note that this file is written to be used with dhcpcd
# For static IP, consult /etc/dhcpcd.conf and 'man dhcpcd.conf'

# Include files from /etc/network/interfaces.d:
source-directory /etc/network/interfaces.d

auto lo
iface lo inet loopback

# ORIGINAL HARDWIRED LAN CONNECTION commented out
#iface eth0 inet manual

# ADDED TO MAKE HARDWIRED LAN CONNECTION STATIC @ IP .221
iface eth0 inet static
address 192.168.1.221
netmask 255.255.255.0
network 192.168.0.0
broadcast 192.168.1.255
gateway 192.168.1.1

allow-hotplug wlan0
#ORIGINAL WIFI CONNNECTION commented out
#iface wlan0 inet manual

# ADDED TO MAKE WIFI CONNECTION STATIC @ IP .220
# Note: wpa_supplicant.conf must come before the IP address so
# it can connect to the WiFi Network first, then assign the address
iface wlan0 inet static
wpa-conf /etc/wpa_supplicant/wpa_supplicant.conf
address 192.168.1.220
netmask 255.255.255.0
network 192.168.0.0
broadcast 192.168.1.255
gateway 192.168.1.1

# NO CHANGES BELOW
allow-hotplug wlan1
iface wlan1 inet manual
 wpa-conf /etc/wpa_supplicant/wpa_supplicant.conf
Note this section I mentioned earlier:
network 192.168.0.0
broadcast 192.168.1.255
My router uses the pretty standard private range of 192.168.0.1 to 192.168.0.254 addresses.
If your Windows IP address you got earlier is 192.168.0.5 (for example) then the above will work. Most home networks are like this. Unfortunately, some aren’t. If you’re having trouble post a comment below with the output of your ipconfig and I will try to help you out.
Ok, so done copy/pasting?
Hit Ctrl+X to close and save, then hit Y to confirm saving.
Make sure now that you can resolve DNS:
sudo nano /etc/resolv.conf
The file will look like this (I didn’t have to touch mine)
# Generated by resolvconf
domain home
nameserver 192.168.1.1
If you don’t see this, then add it. Remember that this is for my general network configuration. My router proxies DNS requests for me. Some other routers may require a different IP, but you noted that when you did an NSLOOKUP above, so add that IP here.
Hit Ctrl+X to close and save, then hit Y to confirm saving (if you needed to confirm saving anything).
For convenience I open a new Windows cmd and put in the IP address that I just assigned to the rPi 2.
C:\Users\Data>ping 192.168.1.220 -t
The -t makes it continuous.
Reboot the Pi 2. You could do restart network, but you’re going to lose the connection anyway since your IP address will change.
sudo shutdown -r now
Take a look at your cmd window with the ping -t. Once you see responses you should be golden.
If not, go and double check your IP Addresses and make sure they match your network.